Easy Twisted Ear Warmer: Free Crochet Beginner Pattern
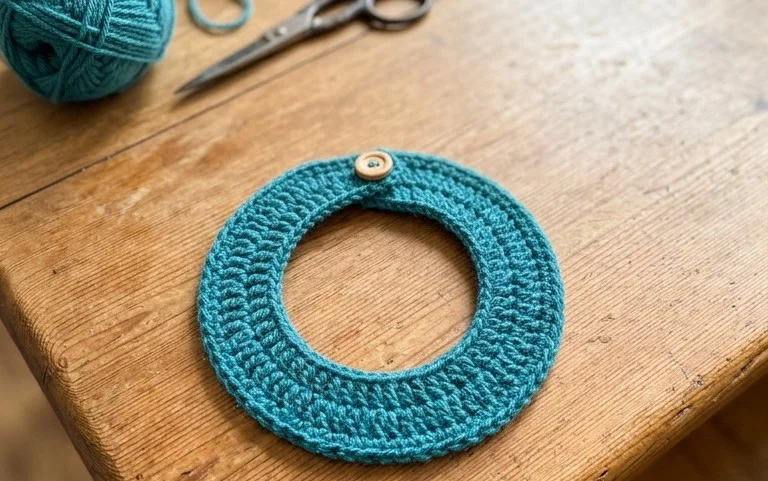
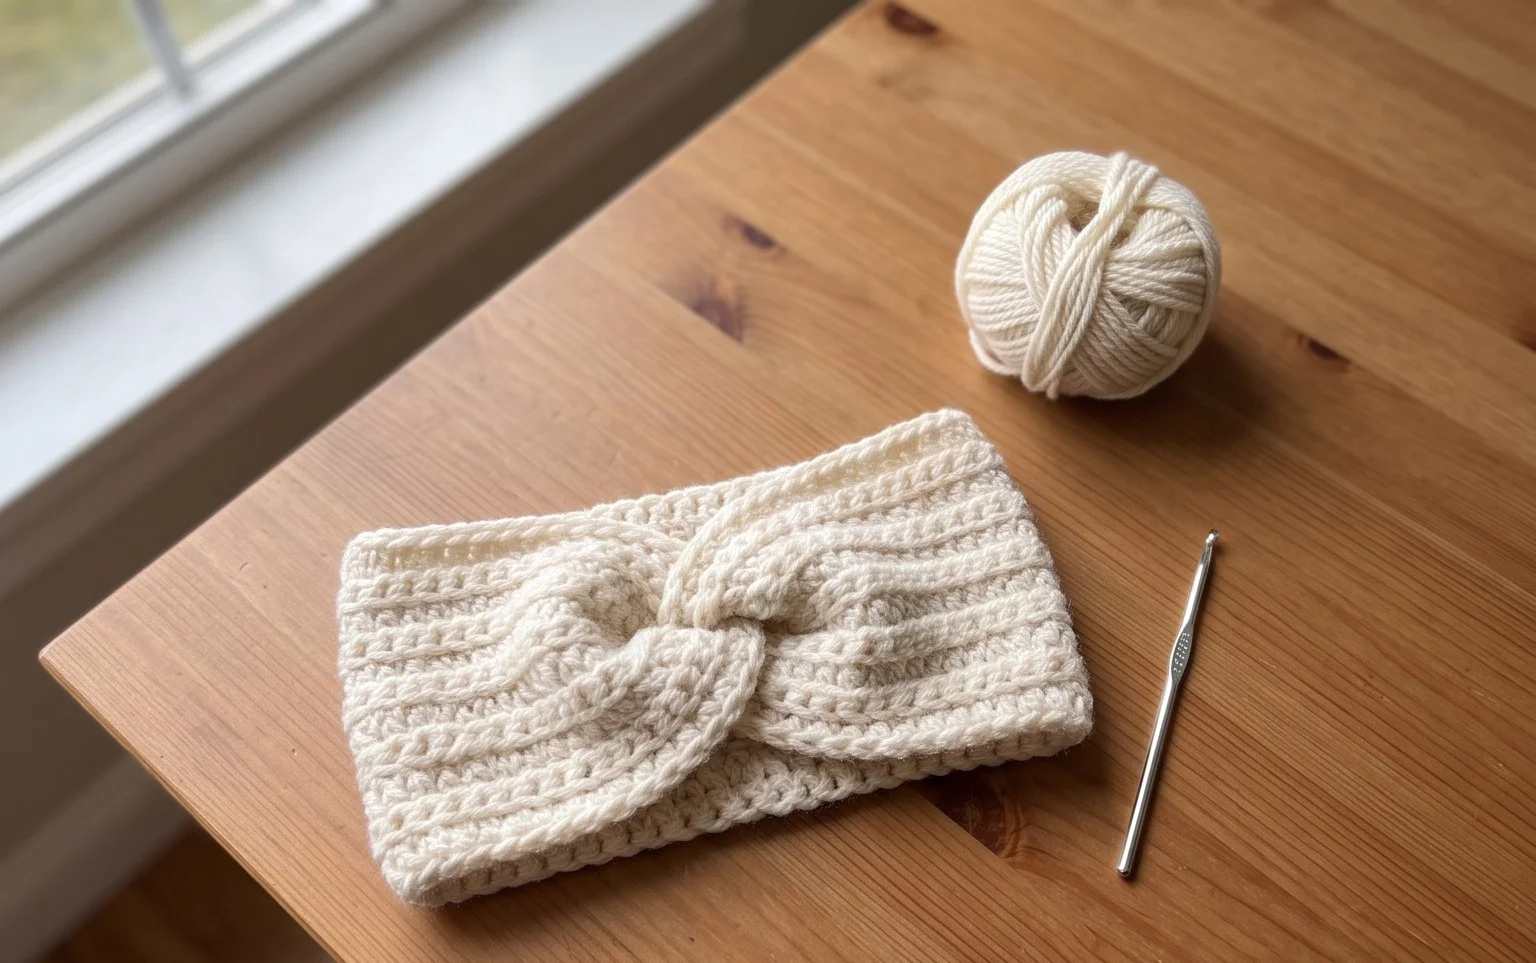
This twisted ear warmer sits snugly against the ears with a soft, squishy texture that traps heat during windy walks. It serves as a gentle introduction to working in rows because you only need to master the half double crochet stitch and the back loop only technique. You will appreciate how quickly the fabric grows as you work, resulting in a stylish accessory that hides messy hair and keeps you cozy. Whether you are a beginner picking up a hook for the first time or a maker looking for a relaxing project, this pattern offers a satisfying, rhythmic flow to enjoy while listening to music or unwinding at home.
Why You’ll Love This Pattern
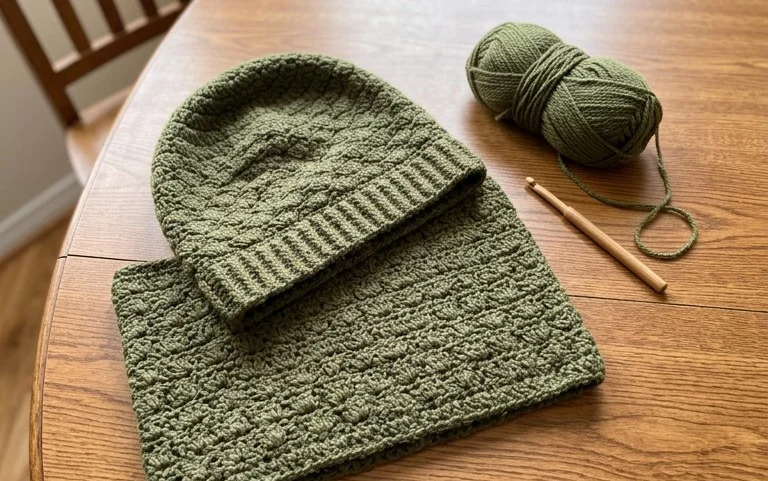
This crochet ribbed beanie pattern uses a simple construction method that creates a soft, squishy fabric perfect for cold weather. You work the entire hat as a flat rectangle, then join the sides and cinch the top, which makes it ideal for those who prefer working in rows rather than rounds. Because the design relies on working into the back loops, the resulting fabric has a knit-like elasticity that fits comfortably around a variety of head sizes. It is a quick weekend project that requires only one skein of medium-weight yarn, making it an affordable option for creating handmade gifts for friends and family.
I finished this hat in just one evening while watching a movie. The instructions were very easy to follow and the finished item fits perfectly.
— Sarah, beginner crocheter
Pattern Overview & Skill Level
- Skill Level: Beginner
- Approximate Time: 3 to 4 hours
- Construction: Worked flat in rows, then seamed at the side and cinched at the crown.
- Finished Dimensions & Sizing: Fits an average adult head (20-22 inches circumference), approximately 9 inches tall when folded.
Materials & Supplies Needed
- Yarn: Worsted weight (#4), wool or acrylic blend, approximately 200 yards.
- Hook Size: 5.0 mm (H-8) crochet hook.
- Notions needed: Tapestry needle for seaming and weaving ends, locking stitch markers, measuring tape, and scissors.
- Safe yarn substitutions: Any soft worsted #4 weight yarn works well. Using 100% cotton yarn will result in a heavier, less stretchy hat, while 100% wool provides the most warmth and bounce.
Stitch Guide & Abbreviations (US Terms)
- ch: chain
- st/sts: stitch/stitches
- sl st: slip stitch
- BLO: back loop only. Instead of inserting the hook under both loops of the stitch, insert it only under the loop furthest away from you.
- hdc: half double crochet
Step-by-Step Pattern Instructions
The hat is worked in one continuous piece as a flat rectangle. The length of your starting chain determines the height of the hat, and the number of rows determines the circumference.
Hat Body
- Row 1: Ch 40. Hdc in the 3rd ch from hook and in every ch across. Turn. (38 sts)
- Row 2: Ch 2 (counts as first hdc). Hdc in BLO of every st across. Turn. (38 sts)
- Rows 3-60: Repeat Row 2 until the piece measures approximately 20 inches wide when slightly stretched.
Assembly
Once you finish your final row, fasten off and leave a long tail of yarn, approximately 12 inches. Fold the rectangle in half so the short ends meet. Use your tapestry needle to whip stitch the two short ends together, creating a tube. Fasten off and secure the knot. Turn the tube inside out so the seam is on the inside.
Finishing the Crown
Using the remaining long tail or a new piece of yarn, weave your tapestry needle in and out along one of the open edges of your tube. Pull the yarn tail tight to gather the edge closed, forming the top of the hat. Secure the center with a few tight stitches, knot the yarn firmly, and weave in all loose ends. You may choose to attach a pom-pom to the center for a finished look.
Care & Washing Instructions
- Hand wash your beanie in cool water using a mild wool-safe detergent to maintain the integrity of the fibers.
- Lay the hat flat on a dry towel and reshape it while damp, avoiding direct sunlight or high heat sources.
- Avoid wringing or twisting the fabric, as this can stretch the stitches and distort the ribbed shape of the hat.
Pro Tips & Common Mistakes to Avoid
- Maintain consistent tension throughout the project. If your stitches are too tight, the hat will be stiff; if they are too loose, the fabric will lose its structure.
- Use a stitch marker at the end of every row to ensure you are not accidentally dropping stitches, which will result in a slanted edge.
- When weaving in ends, use a tapestry needle to go back and forth through the fibers at least three times to ensure the yarn is locked in place and will not unravel during washing.
- Adjust the size by changing the number of starting chains. Each chain equals roughly 0.5 inches of height, so add or subtract chains in small increments to find your desired fit.
Frequently Asked Questions
Can I substitute the yarn for a bulky weight?
Yes, but you will need to adjust the number of stitches and the hook size. Bulky yarn will create a thicker fabric and you will need fewer starting chains to achieve the same height.
Is this pattern suitable for complete beginners?
Yes, this is an excellent pattern for beginners because it uses only two basic stitches and requires no complex shaping or increases.
Can I sell the hats I make from this pattern?
You are welcome to sell finished items made from this pattern, but please credit the design to this guide and use your own original photographs for your shop listings.
How do I adjust the size for a child?
To make the hat smaller, simply decrease your starting chain length to the desired height for the child’s head and work fewer rows until the circumference fits snugly around their head.
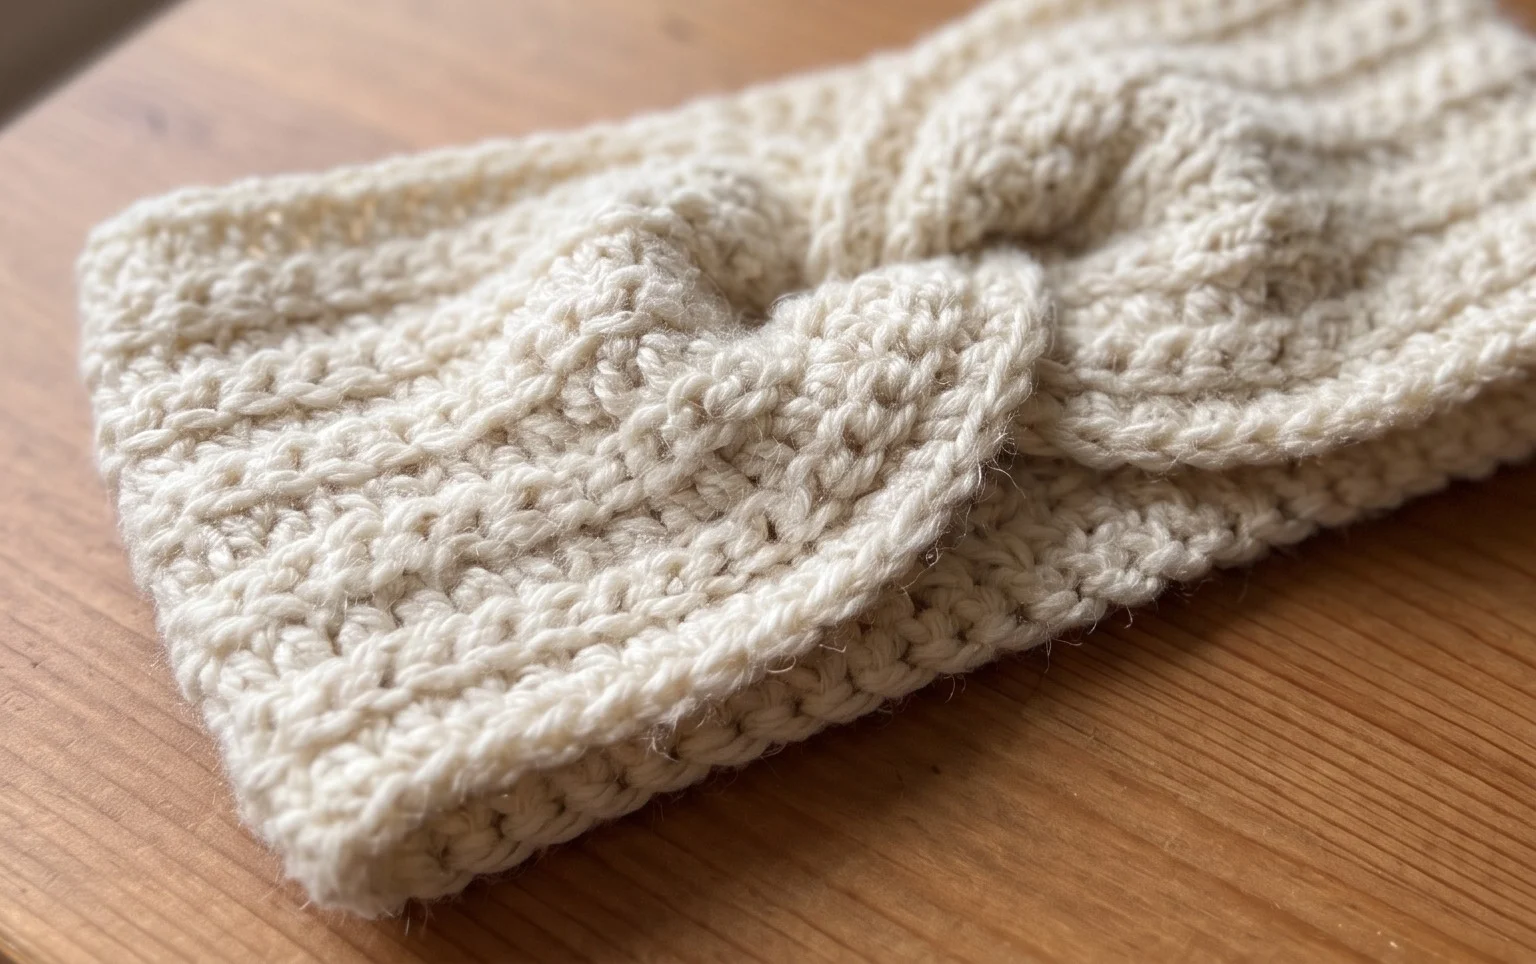
Your new ear warmer provides a cozy shield against biting wind and brings a handmade touch to your cold weather wardrobe. You can make another one in a variegated yarn to highlight the twist or add a faux fur pompom to the side for extra flair. Posting a photo of your finished work helps other makers see how the tension changes the drape of the piece. Please visit the rest of the blog to find more free projects for your yarn collection that keep your hands busy and your closet stocked with warm accessories.