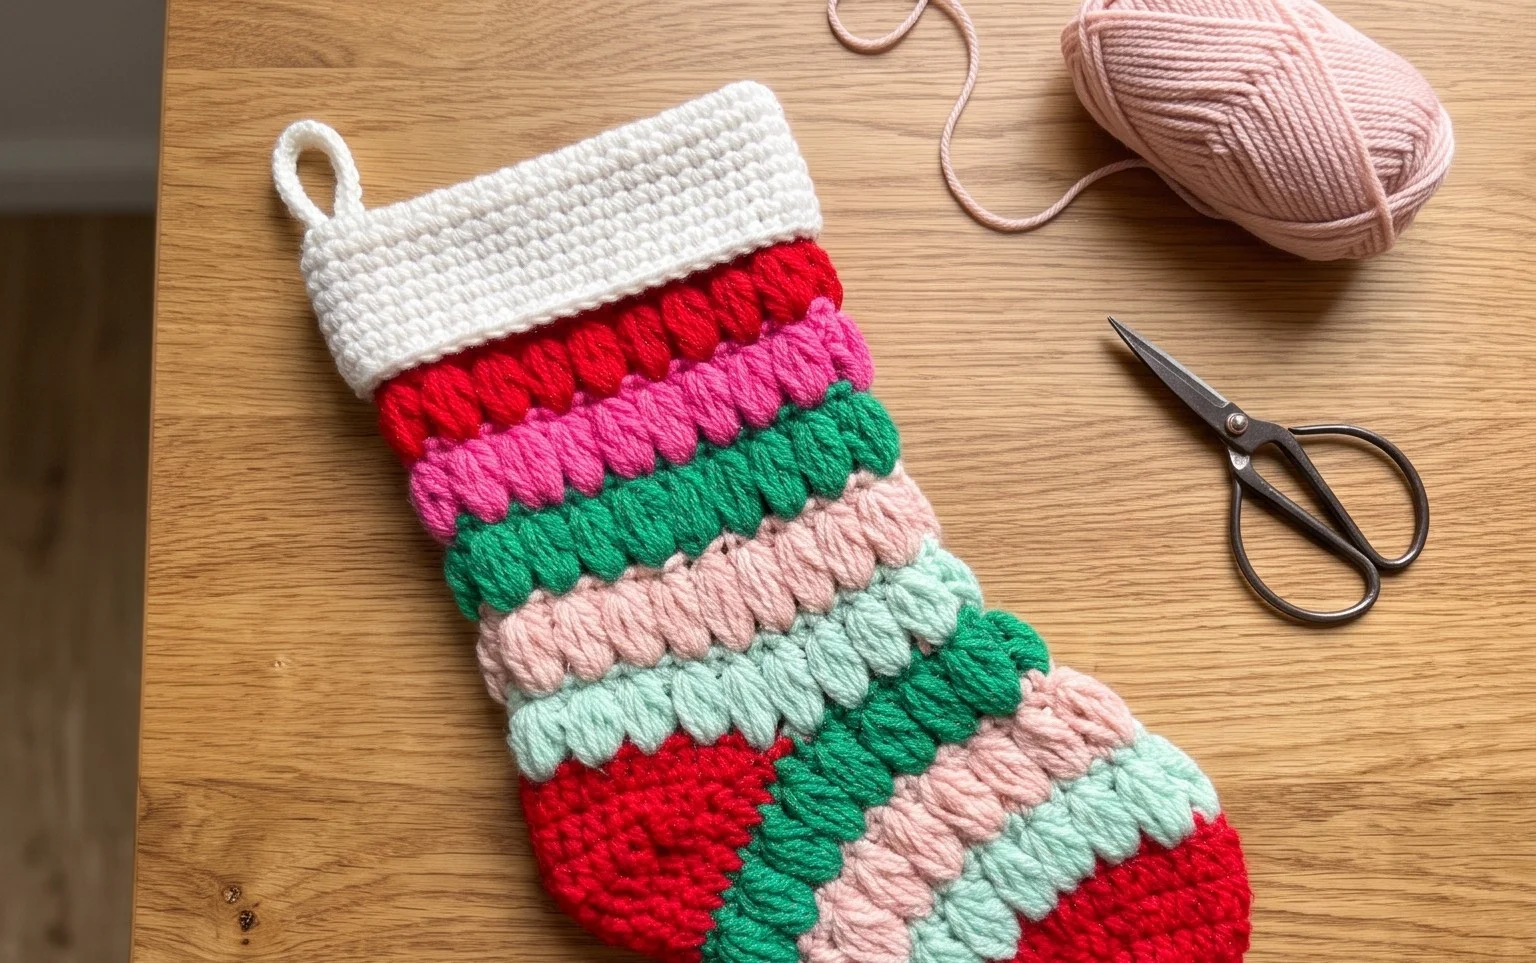
Easy Block Stitch Blanket: Step-by-Step Crochet Pattern
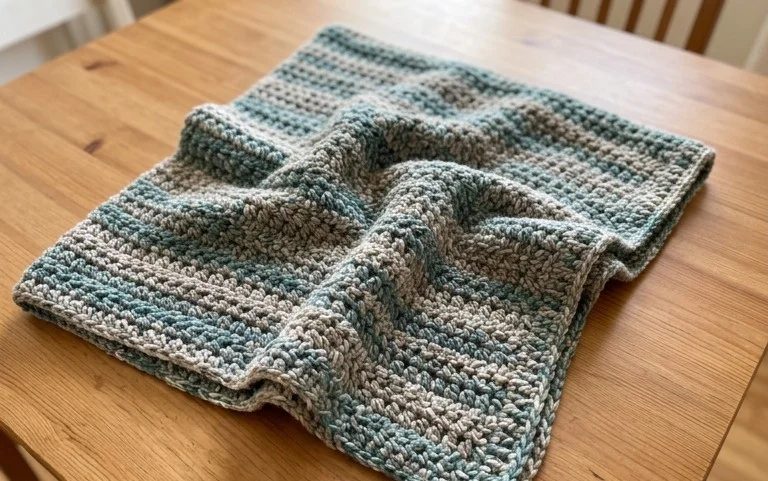
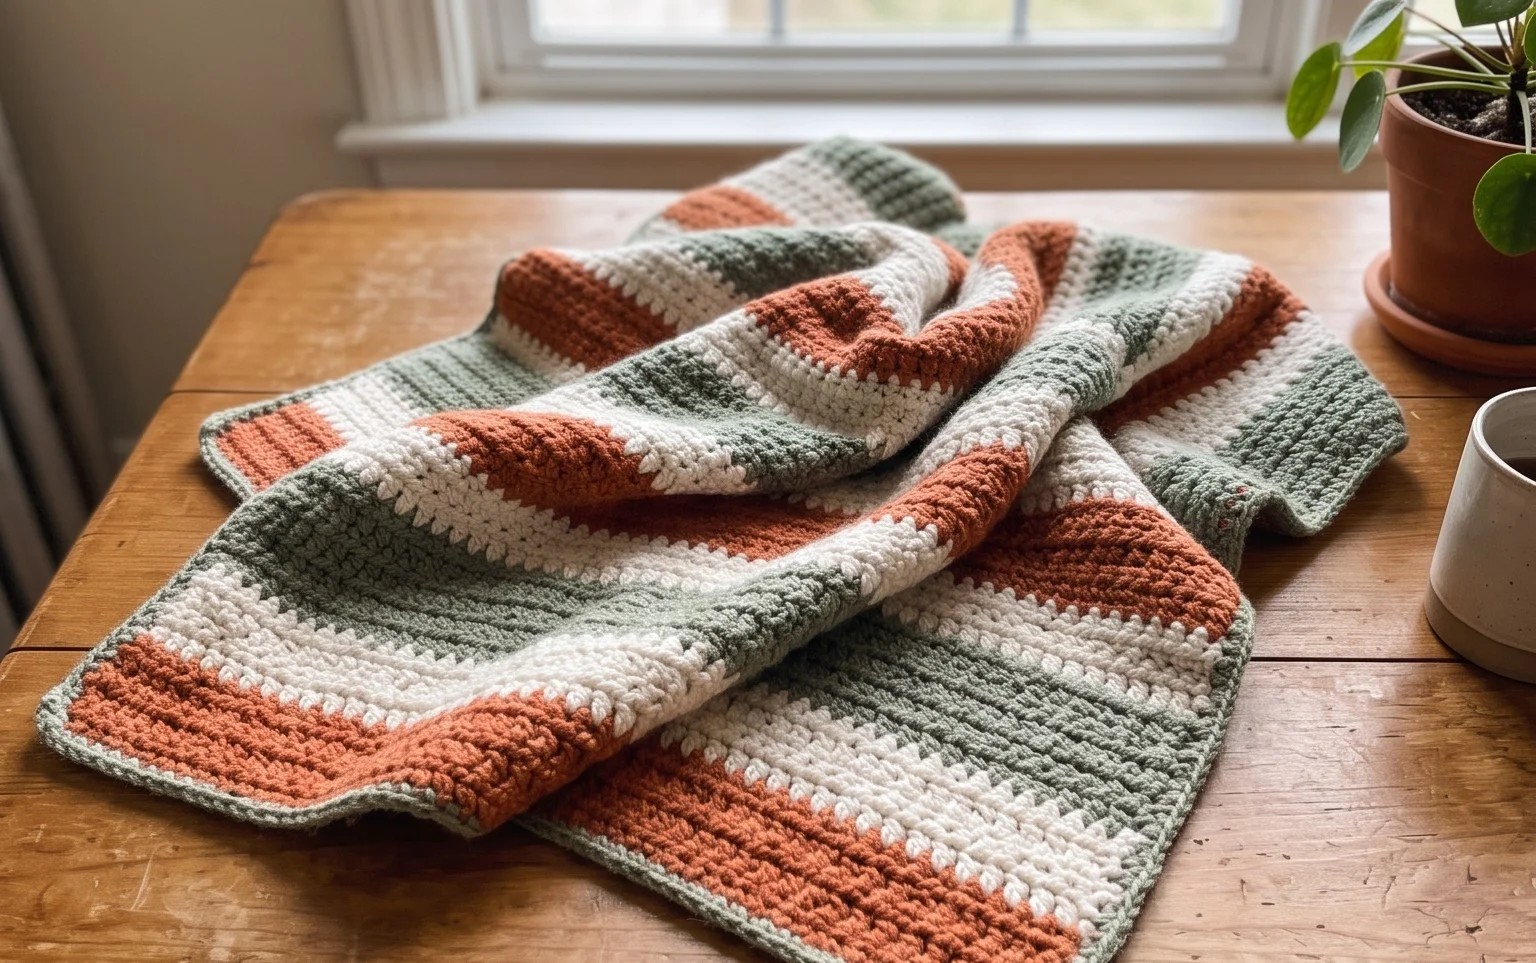
Soft to the touch and dense enough to keep out a chill, this handmade blanket brings a cozy, structured texture to any living room sofa. The simple repetition of the block stitch pattern works well for beginners who want to move past basic rows while still creating something that looks polished and professional. You will learn to manage color changes to make the segments pop, resulting in a durable piece that feels solid in your hands. Whether you are building your first heirloom or searching for a mindful project to finish over a quiet weekend, this design delivers a reliable outcome every single time.
Why You’ll Love This Pattern
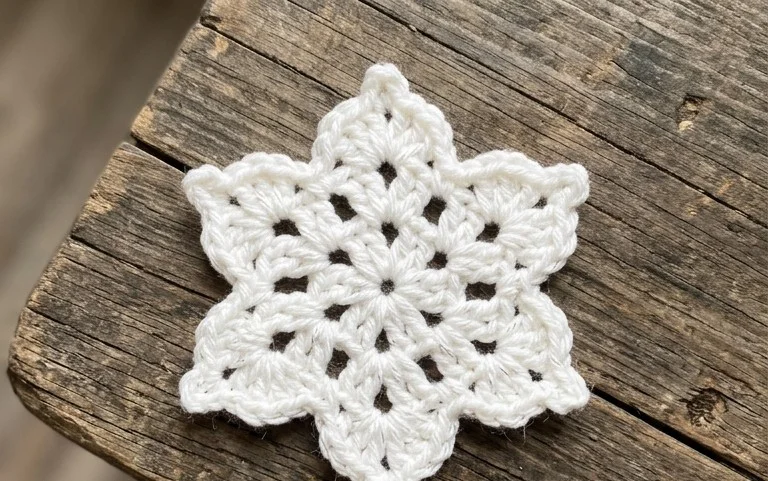
The Classic Crochet Granny Square is the quintessential building block for fiber artists. You will love how quickly this pattern works up, making it ideal for clearing out your scrap yarn basket. Because each square is independent, you can pick up and put down your project without losing your place, which is perfect for working on during a commute or while watching television. The repetitive nature of the stitches creates a meditative rhythm that makes this an incredibly relaxing project for crafters of all skill levels.
I managed to finish a dozen of these squares in a single weekend. The instructions are so clear that I stopped needing to look at them after the third round.
— Sarah, hobbyist crocheter
Pattern Overview & Skill Level
- Skill Level: Beginner
- Approximate Time: 30 to 45 minutes per square
- Construction: Worked in joined rounds, starting from the center and expanding outward
- Finished Dimensions: Approximately 6 inches by 6 inches when using worsted weight yarn
Materials & Supplies Needed
- Yarn: Worsted weight (#4), 100% acrylic or wool blend, approximately 20 yards per square.
- Hook Size: 5.0 mm (US H-8).
- Notions: Tapestry needle for weaving in ends, scissors, and optional locking stitch markers to keep track of the corner spaces.
- Safe yarn substitutions: You can use DK weight yarn for a smaller, more delicate square, though you will need to add an extra round to match the 6-inch size. Using bulky yarn will result in a larger, thicker square, which is excellent for heavy blankets.
Stitch Guide & Abbreviations (US Terms)
- ch: chain
- sl st: slip stitch
- dc: double crochet
- dc-cluster: 3 dc stitches worked into the same space
- sp: space
- RS: right side
Step-by-Step Pattern Instructions
This square is worked in continuous rounds, joining at the end of each round to ensure the square remains balanced.
The Center and Foundation
- Round 1: Start with a magic ring. Ch 3 (counts as first dc), work 2 dc into the ring, ch 2. *Work 3 dc into the ring, ch 2. Repeat from * 2 more times. Join with a sl st to the top of the beginning ch-3. (12 dc, 4 ch-2 spaces)
- Round 2: Sl st into the next 2 dc and into the first ch-2 corner space. Ch 3, 2 dc, ch 2, 3 dc into the same corner space. *Ch 1, skip 3 dc, (3 dc, ch 2, 3 dc) into the next corner ch-2 space. Repeat from * 2 more times. Ch 1, join with a sl st to the top of the beginning ch-3. (24 dc, 4 corner spaces, 4 side spaces)
- Round 3: Sl st into the next 2 dc and into the first ch-2 corner space. Ch 3, 2 dc, ch 2, 3 dc into the same space. *Ch 1, 3 dc into the next ch-1 side space, ch 1, (3 dc, ch 2, 3 dc) into the next corner space. Repeat from * 2 more times. Ch 1, 3 dc into the next side space, ch 1, join with a sl st to the top of the beginning ch-3. (36 dc, 4 corner spaces, 8 side spaces)
- Round 4: Sl st into the next 2 dc and into the first corner space. Ch 3, 2 dc, ch 2, 3 dc into the corner space. *Ch 1, (3 dc into next ch-1 space, ch 1) twice, (3 dc, ch 2, 3 dc) into corner space. Repeat from * 2 more times. Ch 1, (3 dc into next ch-1 space, ch 1) twice, join with sl st to top of beginning ch-3. (48 dc, 4 corner spaces, 12 side spaces)
Finishing
Fasten off your yarn, leaving a 6-inch tail. Use your tapestry needle to weave the tail through the back of the stitches to secure it. If you are making multiple squares for a blanket, ensure you leave long enough tails to use for sewing the pieces together later.
Care & Washing Instructions
- Machine wash your finished items on a gentle cycle in cool water (30°C) with like colors.
- Always lay the item flat on a clean towel to dry to prevent the square from stretching out of shape.
- Gently steam or use a cool iron with a pressing cloth to block the square if the edges curl after washing.
Pro Tips & Common Mistakes to Avoid
Consistent tension is the secret to a professional-looking square. If your stitches look loose or uneven, try going down half a hook size to keep the chain spaces tight. Always place a stitch marker in your starting ch-3 of each round to avoid losing your spot when you come back around to join. Weave your ends in by running the needle through the center of the double crochet clusters rather than just under the top loops for a more secure, invisible finish. If you want to change the size of the square, simply repeat the pattern for additional rounds, adding one more 3-dc cluster to every side for each round you add.
Frequently Asked Questions
Can I use different yarn weights together in one blanket?
It is possible, but not recommended for beginners. Different weights will cause the squares to have different dimensions, making them difficult to join evenly later on.
How do I join my finished squares?
You can use a whip stitch for a visible, sturdy seam or a flat slip stitch join for a smooth, decorative finish between squares.
Is this pattern suitable for complete beginners?
Yes. The double crochet and chain stitches used here are the fundamental skills taught to new crocheters and provide an excellent foundation for more complex patterns.
Can I sell the squares I make from this pattern?
You are welcome to sell finished items made from this pattern, but please credit the design and do not use these specific photographs for your own listings.
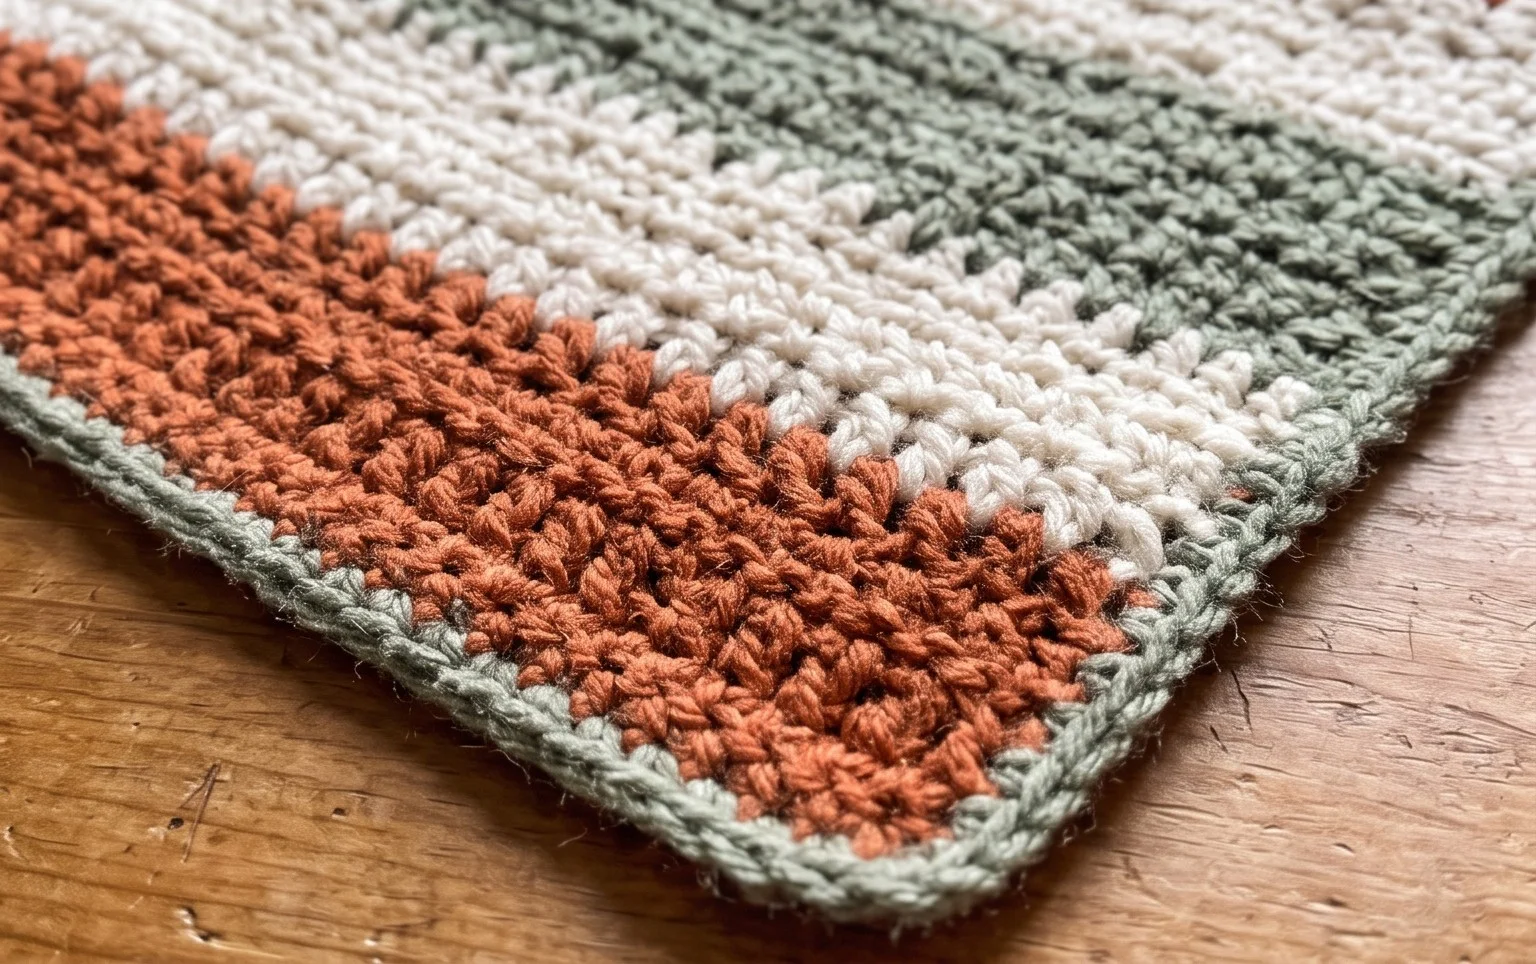
Seeing your colorful blocks come together into a finished throw is a rewarding finish to your hours of stitching. You might consider using a variegated yarn for the main segments to add a subtle shifting effect to the texture or working with a larger hook to drape the blanket over a bigger bed. Share a photo of your finished work on social media to show others how you chose your colors. Browse through the rest of the blog for more patterns if you want to keep your hands busy with another afternoon project.