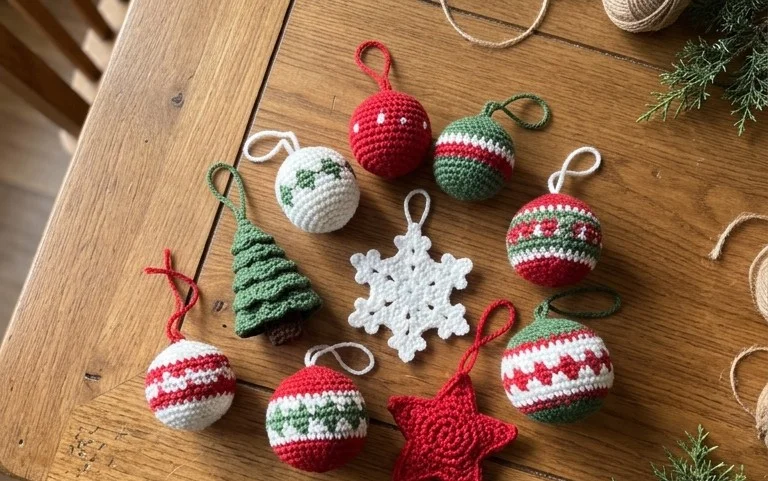
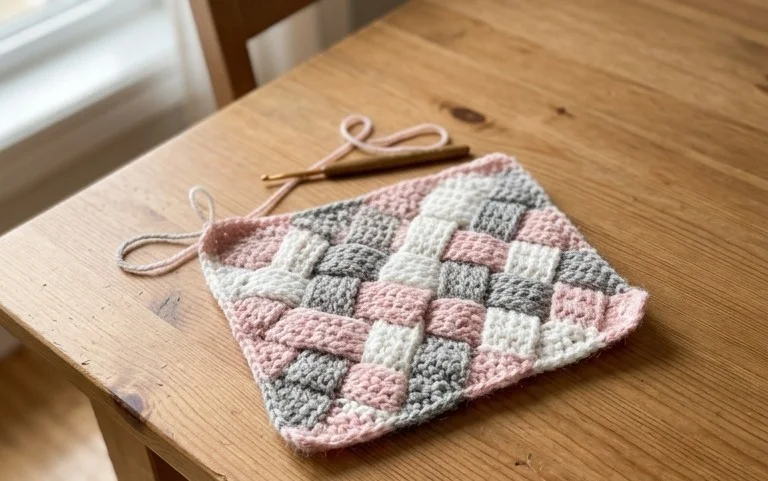
Easy Christmas Tree Ornament Free Crochet Patterns
A handmade ornament adds a personal touch to your holiday tree that store-bought decorations simply cannot match. These small projects feel substantial in your hand, offering a dense texture that holds its shape well after hanging for weeks. Beginners will find the process predictable and rhythmic, while experienced makers appreciate the speed of finishing one in just a single afternoon. You learn to manage tension in small rounds, which helps sharpen your skills for larger garments. This project turns simple yarn scraps into heirloom-quality gifts for family members or festive accents that brighten up a quiet room during the winter months.
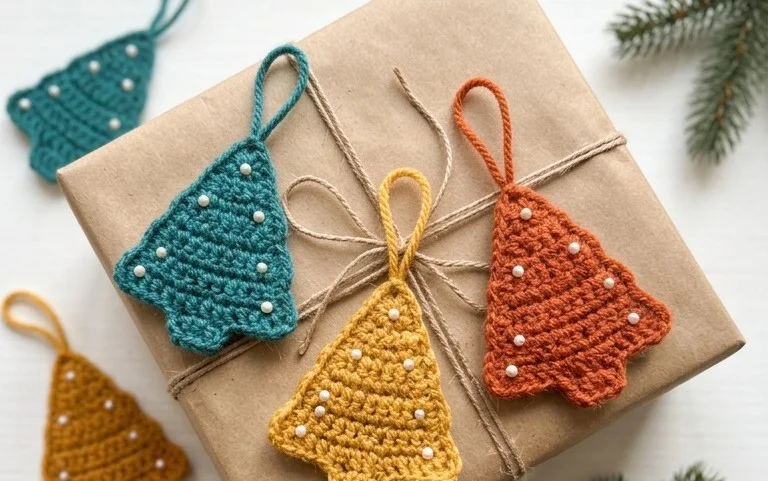
Why You’ll Love This Pattern
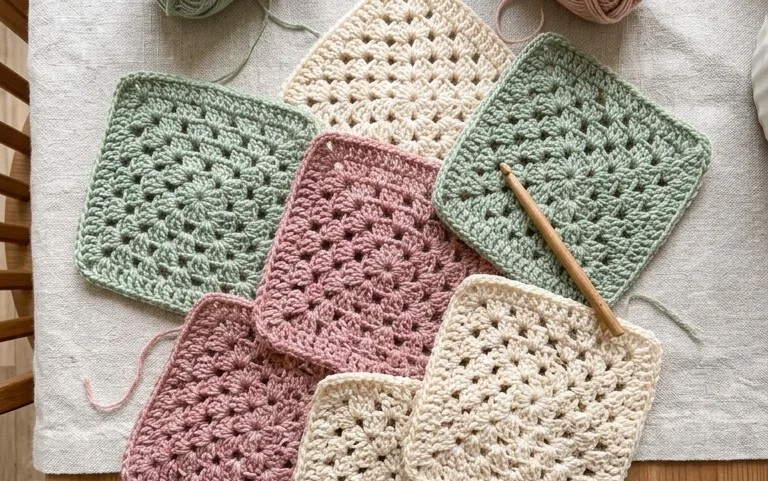
The Classic Crochet Granny Square is the fundamental building block for countless textile projects. This pattern uses a traditional three-double-crochet cluster technique that creates a balanced, non-twisting square with a tight center. It is ideal for using up leftover yarn scraps, as you can change colors every round to create unique color palettes. Because the stitches are worked into chain spaces rather than into the stitches of the previous row, it is a low-stress project that is easy to pick up and put down. You will find that this project is naturally meditative, making it a great way to occupy your hands while relaxing.
I was able to finish a dozen of these squares in just one weekend. The instructions are so clear that I never had to count stitches once I got past the first round.
— Sarah, beginner crocheter
Pattern Overview & Skill Level
- Skill Level: Beginner
- Approximate Time: 30 minutes per square
- Construction: Working in joined rounds from the center outward
- Finished Dimensions: Approximately 5 inches by 5 inches using worsted weight yarn
Materials & Supplies Needed
- Yarn: Worsted weight (#4), 100% wool or acrylic blend, approximately 15 yards per square
- Hook Size: 5.0 mm (US H-8)
- Notions: Tapestry needle for weaving ends, sharp scissors
- Yarn substitutions: Cotton yarn will result in a firmer, heavier square with less drape. Alpaca blends provide a softer, haloed finish but may be harder to frog if you make a mistake.
Stitch Guide & Abbreviations (US Terms)
- ch = chain
- sl st = slip stitch
- dc = double crochet
- st/sts = stitch/stitches
- sp = space
- Cluster = group of 3 dc worked into the same space
Step-by-Step Pattern Instructions
The square is worked in the round. You will join each round with a slip stitch and begin the next round by chaining up, which counts as the first stitch or part of the corner.
Rnd 1: Ch 4, join with sl st to first ch to form a ring. Ch 3 (counts as first dc here and throughout), work 2 dc into ring, ch 2, *3 dc into ring, ch 2; repeat from * twice more. Join with sl st to top of beg ch-3. (12 dc, 4 ch-2 spaces)
Rnd 2: Sl st into the next 2 sts and into the first ch-2 sp. Ch 3, 2 dc in same sp, ch 2, 3 dc in same sp (first corner made). *Ch 1, skip 3 sts, (3 dc, ch 2, 3 dc) in next ch-2 sp; repeat from * twice more. Ch 1, join with sl st to top of beg ch-3. (24 dc, 4 ch-2 spaces, 4 ch-1 spaces)
Rnd 3: Sl st into the next 2 sts and into the first ch-2 sp. Ch 3, 2 dc in same sp, ch 2, 3 dc in same sp. *Ch 1, 3 dc in next ch-1 sp, ch 1, (3 dc, ch 2, 3 dc) in next ch-2 sp; repeat from * twice more. Ch 1, 3 dc in next ch-1 sp, ch 1, join with sl st to top of beg ch-3. (36 dc, 4 ch-2 spaces, 8 ch-1 spaces)
Rnd 4: Continue in the same pattern, working 3 dc in each side ch-1 space and (3 dc, ch 2, 3 dc) in each corner ch-2 space until the square reaches your desired size. Fasten off and weave in ends securely.
Care & Washing Instructions
- Hand wash finished items in cool water with a gentle wool-safe detergent.
- Gently squeeze out excess moisture using a towel, avoiding harsh wringing.
- Lay the square flat on a clean surface, reshaping it to square dimensions while it dries.
Pro Tips & Common Mistakes to Avoid
Maintain consistent tension by ensuring your yarn feed is smooth. If the square begins to curl like a bowl, your tension is too tight; consider moving up a hook size. Always place a locking stitch marker in the top of your beginning chain-3 to make joining the rounds much easier, as it can be difficult to identify the top stitch later. To weave in ends invisibly, thread your tail into a tapestry needle and weave it back and forth through the base of the double crochet stitches on the back side of the work. If you wish to make the square larger, simply continue the pattern rounds indefinitely, but remember that each additional round will consume significantly more yarn than the last.
Frequently Asked Questions
Can I use a different yarn weight for this pattern?
Yes, you can use any yarn weight. Just ensure you match your hook size to the recommendation on the yarn label. A smaller yarn will produce a smaller square, while a bulkier yarn will produce a larger one.
Is this pattern suitable for complete beginners?
This is a standard project for beginners. It helps you practice basic double crochet stitches and teaches you how to work in rounds, which is essential for many other patterns.
How do I join these squares together?
There are several methods, including whip-stitching the edges together with a tapestry needle or using a single crochet join to create a raised seam. Choose the method that best matches the aesthetic of your final project.
Am I allowed to sell items made from this pattern?
You are welcome to sell finished physical items created from this pattern. However, you may not redistribute, sell, or claim the written pattern instructions as your own work.
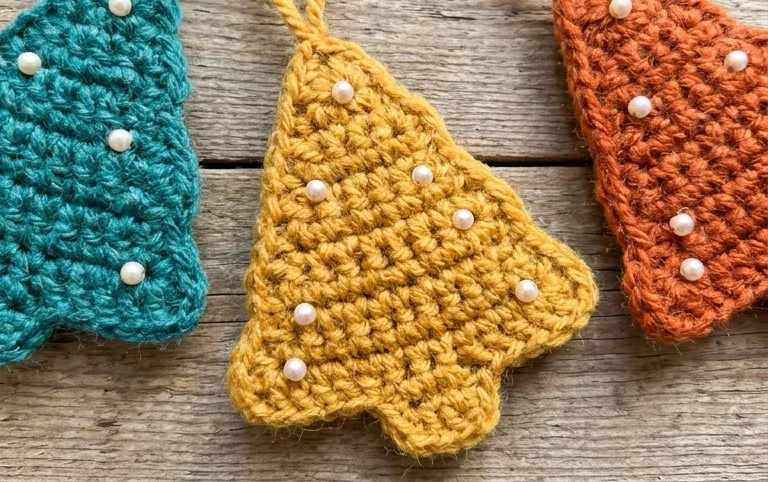
These hanging ornaments bring a cozy charm to your home that will last through many holiday seasons. You can experiment with using metallic thread held alongside your main yarn to create a subtle shimmer that catches the glow of your lights. Please share a photo of your finished work on your favorite social media platform so others can see your color choices. You will find several other small holiday projects available on the blog to keep your hands busy throughout the cold weeks ahead.