Easy Diamond Crochet Hat: Free Beginner Pattern Tutorial
Soft rows of squishy half double crochet stitches create a thick, warm fabric that feels substantial against the skin during a crisp morning walk. This project is a wonderful starting point for beginners who want to move beyond simple scarves because it teaches how to handle shaping through basic seaming techniques. You get to practice consistent tension while building a functional accessory that holds its shape well over many wears. Gift makers will appreciate how quickly this builds up, as it requires only one evening of work to finish a stylish, handmade present for friends or family.
Why You’ll Love This Pattern
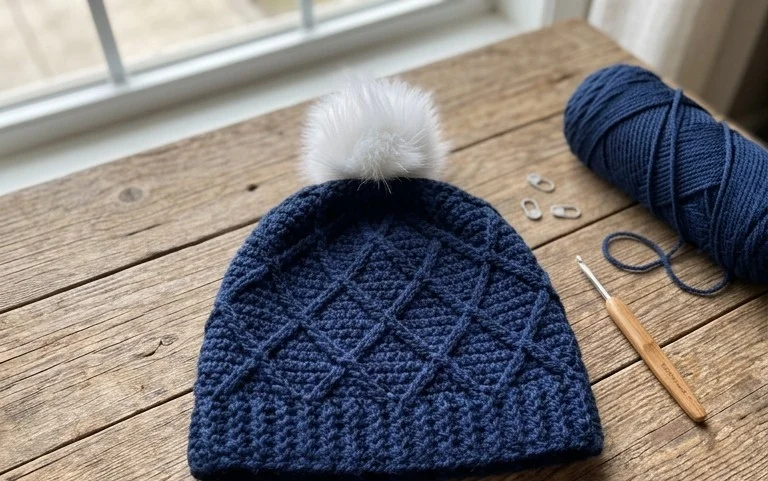
This crochet ribbed beanie offers a classic, fitted silhouette that relies on simple half double crochet stitches worked in the back loops. The construction uses a rectangular flat panel that is seamed at the end, making it an ideal choice for those who prefer straightforward geometry over complex circular shaping. Because the pattern uses a bulky weight yarn, the project works up quickly, often in just a few hours. It is an excellent stash-buster that allows for high-contrast color choices or subtle monochrome textures depending on your yarn selection.
I finished this hat in one evening while watching a movie. The ribbed texture is much more professional looking than I expected for such an easy stitch pattern.
— Sarah, hobbyist crafter
Pattern Overview & Skill Level
- Skill Level: Beginner
- Approximate Time: 3 to 4 hours
- Construction: Rectangular panel worked in rows, seamed to form a tube, then cinched at the top
- Finished Dimensions: 18 inches circumference (unstretched) by 9 inches tall, fits most adults
Materials & Supplies Needed
- Yarn: Bulky #5 weight, acrylic-wool blend, approximately 180 yards.
- Hook Size: 6.0 mm / J-10.
- Notions: Tapestry needle for seaming, locking stitch marker for beginning rows, scissors.
- Safe yarn substitutions: You may use a heavy worsted weight yarn if you adjust your starting chain length to reach your desired height, though this will result in a slightly thinner fabric. Avoid cotton yarns as they lack the necessary elasticity for a comfortable beanie fit.
Stitch Guide & Abbreviations (US Terms)
- ch = chain
- hdc = half double crochet
- st(s) = stitch(es)
- BLO = back loop only (insert hook under the back loop of the V-shape atop the stitch)
- sl st = slip stitch
- FO = fasten off
Step-by-Step Pattern Instructions
Main Body Panel
The hat is worked back and forth in rows to create a ribbed rectangle. You will leave the last stitch of every row unworked or work into it depending on the desired edge tension; for this pattern, work into every stitch.
- Row 1: Ch 35. Hdc in the second ch from hook and in each ch across. (34 sts).
- Row 2: Ch 1, turn. Hdc in BLO of the first st and each st across. (34 sts).
- Rows 3–50: Repeat Row 2 until the piece measures approximately 18 inches unstretched. Ensure you end on an even row to keep the ribbed pattern consistent.
Assembly and Finishing
Fold the rectangle in half so the short ends touch. Slip stitch the edges together through the BLO of one side and the starting chain edge of the other to create a tube. Do not fasten off after the seam; instead, use your remaining yarn tail and a tapestry needle to weave in and out of the edge stitches along the top of the tube. Pull the yarn tail tight to cinch the top closed, securing it with a knot on the inside. Weave in all remaining ends securely to prevent unraveling.
Care & Washing Instructions
- Hand wash in cool water using a mild wool-safe detergent to maintain fiber integrity.
- Lay the item flat on a dry towel, reshaping it to its original dimensions, and allow it to air dry away from direct heat sources.
- Avoid using a tumble dryer or heavy machine agitation, as these can cause significant pilling or felt the fibers if wool content is high.
Pro Tips & Common Mistakes to Avoid
Maintaining consistent tension is vital for a ribbed beanie. If your stitches are too tight, the fabric will lose its signature stretch, making the hat uncomfortable to wear. Use a stitch marker on the first stitch of every row to ensure you are not accidentally dropping stitches at the edges, which would result in a tapered or uneven rectangle. When seaming, use a mattress stitch for the most invisible finish, matching the ribs of the two edges carefully. If you wish to make the hat larger or smaller, add or subtract chains in increments of two, but remember that this will require a corresponding adjustment in the total number of rows to maintain the fit.
Frequently Asked Questions
Can I use a different yarn weight for this pattern?
Using a different weight will change the dimensions significantly. If you use a worsted weight yarn, you will need to add more starting chains to reach the same height and more rows to reach the same circumference.
Is this pattern suitable for someone who has never crocheted before?
Yes, this is an ideal beginner project because it only requires one basic stitch, the half double crochet, worked consistently in the back loops.
Can I sell the hats I make from this pattern?
You are welcome to sell finished items created from this pattern. I ask that you credit the design to this tutorial whenever possible.
How do I keep the seam from looking bulky?
The best way to minimize bulk is to use a slip stitch join through the back loops only or a flat mattress stitch. Avoid thick knots when joining new yarn, preferring to weave ends into the fabric as you work.
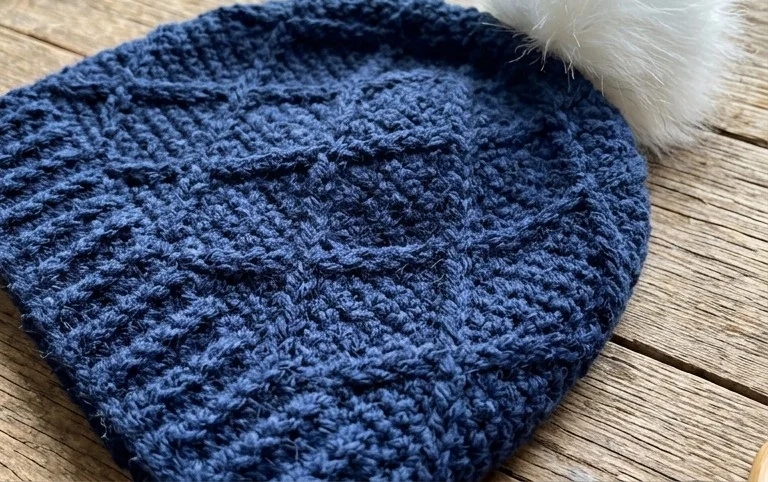
Your finished hat should feel warm and look balanced with that distinct, professional ribbed texture. If you want to customize your next version, try swapping the bulky yarn for a deep navy wool blend to give it a more refined look for cold winter commutes. Sharing a photo of your completed project on social media helps others find inspiration for their own yarn stash projects. You are always welcome to browse the rest of the blog for more free patterns to fill your next afternoon of crafting.